
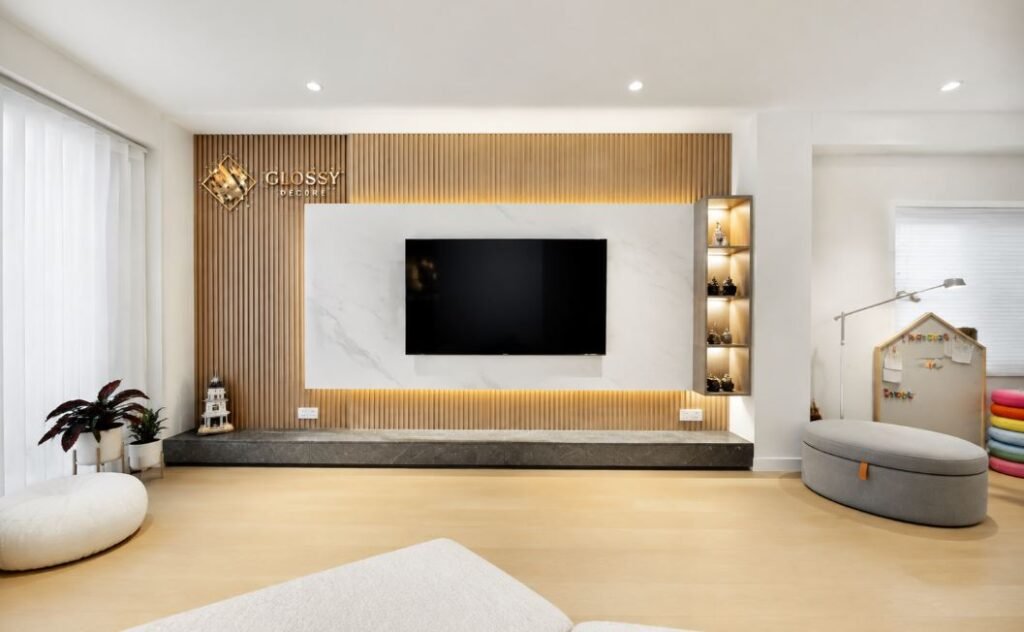
Install SPC Shower Wall Panels
Are you looking for a clean, modern shower update without the tile mess? Completing a successful Shower Wall Installation can transform your bathroom in just one weekend. If you want to install SPC Shower Wall Panels, you’ll benefit from a durable, low-maintenance solution designed to withstand daily moisture. Canadian homes experience constant indoor temperature and humidity changes during long winters. High-quality engineered stone plastic composite (SPC) panels provide long-lasting waterproof protection, making them an excellent choice for modern bathrooms.
A lot of homeowners would like surfaces to be waterproof, have no grout, and would not like mold growing on the walls. As part of a Calgary Bathroom Renovation, today’s composite materials offer incredible strength, low structural weight, and excellent value. Glossy Decors not only provides high-performance wall materials but also offers complete local installation services. This all-inclusive guide will help you understand every step of the installation process for a smooth and successful bathroom upgrade.
Required Tools & Materials for Success
What tools should be acquired for your installation project? By having everything ready in advance, you can ensure that the assembly process goes smoothly and without any delays.
- High-grab waterproof structural adhesive, PVC and composite panels.
- Anti-mold bath and kitchen silicone sealant is completely waterproof.
- Fine-tooth saw blade, circular saw or heavy-duty utility knife.
- Laser Level, Tape Measure, Caulking Gun and Painter’s Tape.
Step 1: Wall Inspection & Substrate Preparation
Does the wall surface you are installing the new wall on have no other surface that needs to be repaired? An adequately prepared surface will keep the panels in place and not sag in the long term. Inspect drywall or previous wall surfaces for any irregular or moist places. Scrape away old tile remnants, peeling paint, and old fixtures from walls. Clean the whole area of the wall with mild cleaning detergent solution. Allow ample drying of the substrate before aligning the panel.
Step 2: Measuring & Precision Cutting
What is the best way to ensure that all shower panels fit seamlessly around shower fixtures? It ensures the correct measurement, avoiding material waste and misaligned wall sections.
Make two measurements of your shower enclosure walls (height and width). Carefully transfer the exact dimensions of the wall to the protective film backing the walls.
Step 3: Dry Fitting Your Composite Panels
Dry fitting is a way to check the alignment of walls before permanent panel mounting. Install each cut sheet in your shower wall and see how it fits. Use a spirit or laser level device to ensure that corners are square. Remove any minor irregular edges before opening glue bead tubes (or using glue beads).
Step 4: Applying Waterproof Adhesive
How to attach paneling to shower walls? Adhesive patterns are continuous, providing good adhesion of the sheet over its entire surface. Attach the adhesive beads vertically on the back of the panel 6” apart. To avoid squeeze-out, avoid placing glue lines within 2 inches of the edges of the panels. For Shower Wall Installation, firmly push each sheet onto the substrate that has been prepared. Use a structural adhesive and spread it evenly behind the paneling using a roller tool. With the installation of SPC Shower Wall Panels, you will have solid support for your bath enclosure at once. Hold down with painter’s tape until adhesive is dry.
Step 5: Interlocking Joints & Trim Fittings
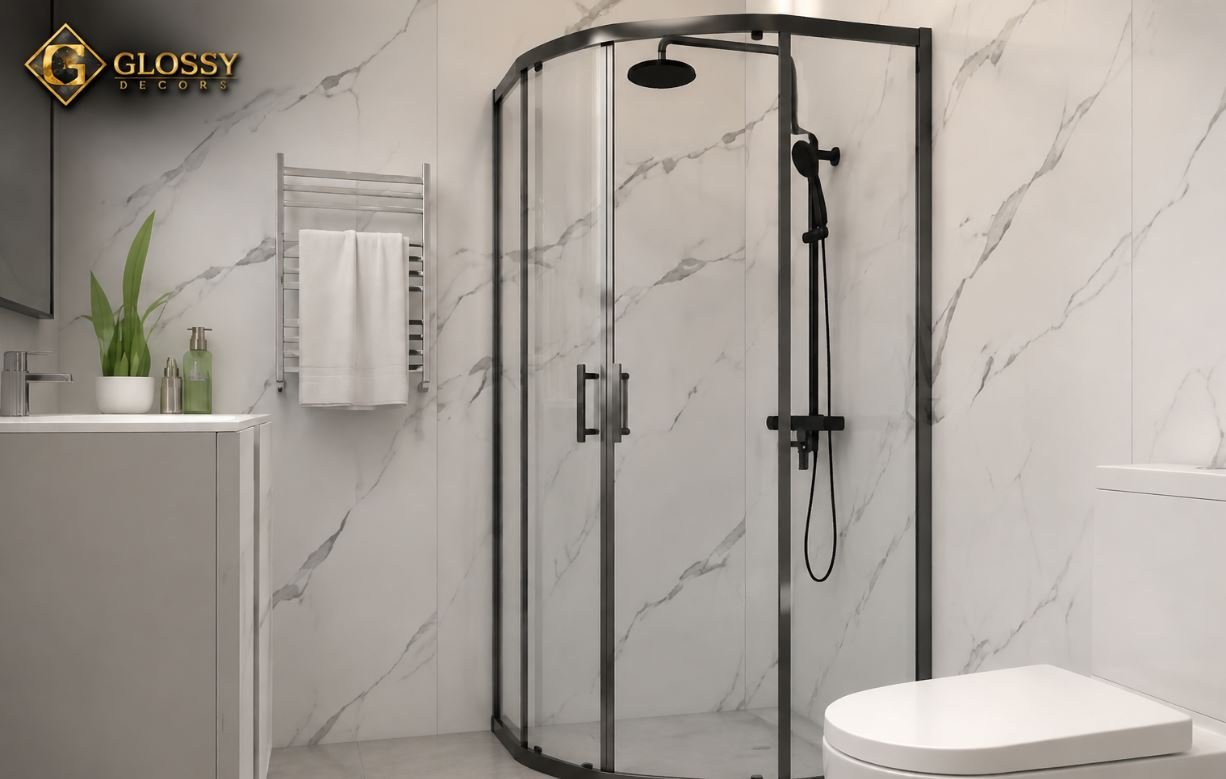
How does the clicklock edge help to eliminate the chance of water leakage behind the shower walls? Interlocking joints create continuous surface barriers which prevent moisture from entering wall cavities. Clicklock tongue and groove edges join easily and smoothly to other wall panel edges. Decorative edge moldings, if used, should be placed over all inside corner moldings and then sealed with protective molding sealant. Modern Wall Panels make overall shower renovation easy and provide a luxurious marble appearance.
DIY vs Professional Installation in Calgary
The question is, do you do it yourself or call in local installation professionals? When it comes to DIY projects, you must purchase precision cutting and handling tools, which will save you on labor. Glossy Decors offers full measuring, delivery, and professional installation all in Calgary. Our professional installation team will transform your shower in a hassle-free manner, avoiding any mess and noise.
- Obtain accurate laser measurements for flawless fitment of materials every time.
- Avoid cutting errors and waste of materials while remodeling your home.
- Take advantage of the local service support and guaranteed professional installation.
Final Thoughts
Up-to-date bathroom panels made of composite materials can enhance the value and beauty of your home. With the end result of your Shower Wall Installation, you get a hygienic, grout-free space that’s designed to meet the needs of Canadian living. Glossy Decors has a variety of waterproof walls to fit your budget, and a fitting expert to finish the job. Speak with one of our local experts today about your next bathroom remodel objectives.
Request a Free Installation Quote Today with Glossy Decors!
Don’t want to do your shower renovation yourself? Talk with our Calgary experts at Glossy Decors! Call us today for a no-cost, in-home estimate, measure your space, and get a project quote!
Follow us on Instagram to see real Canadian bathroom renovations, waterproof wall panel installations, and the latest home improvement updates.
FAQs
Is it possible to fit composite shower panels on top of tile walls?
It is possible to install panels on structurally sound, clean, flat tiles. Make sure all old tiles are properly cleaned before gluing on new tiles.
How long is the curing time of shower panel adhesive?
Most structural adhesive high-grab values are fully cured in 24-48 hrs. Wait until the adhesive and silicone have hardened before turning on water in the shower enclosure.
How to make holes for shower valves?
To accurately position fixtures on the panel face, use a tape measure. Use the hole saw attachment on your power drill to cut holes accurately, circularly.
Are clicklock shower panels suitable for Canadian winter homes?
Yes, the stone-plastic composite cores are more thermally stable to seasonal drafts. With humidity and temperature changes in the interior, panels will not warp, shrink, or expand.