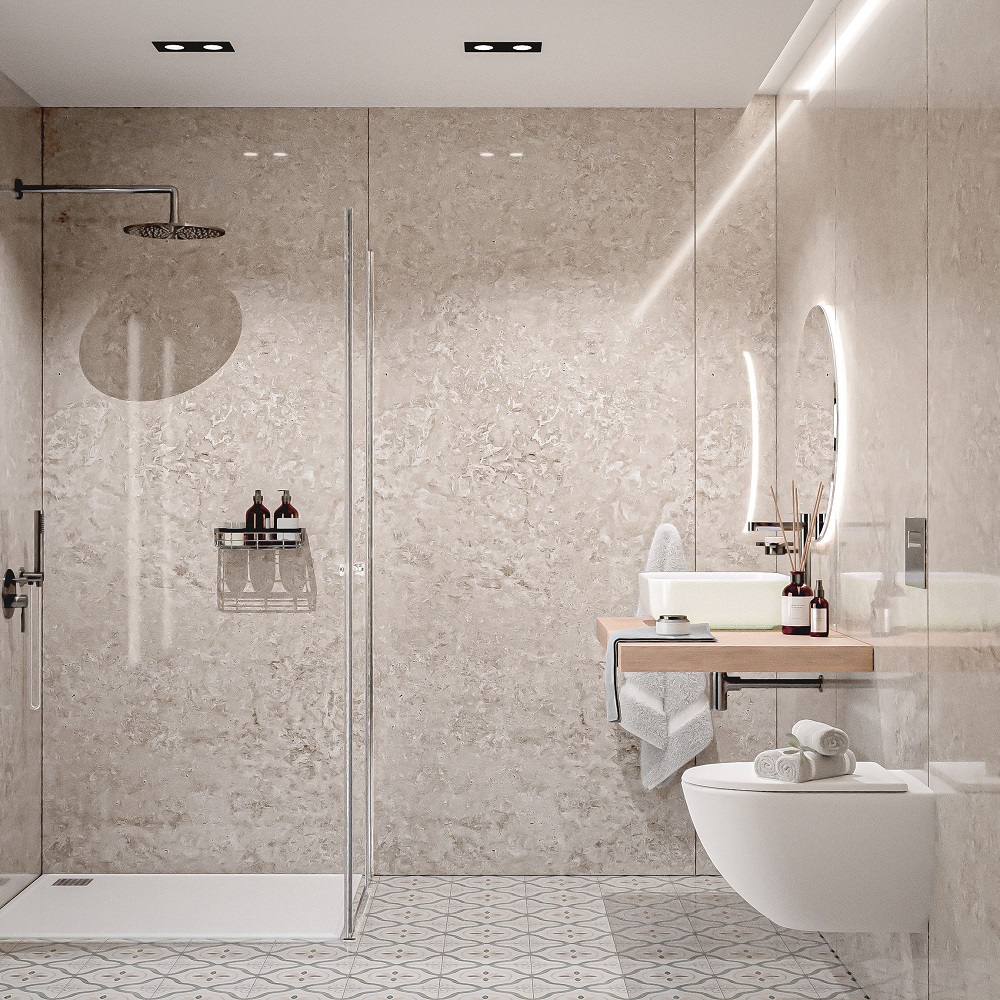
Preparation and Workspace Establishment
A successful installation is made many months before you lay your hand on a panel. You should make sure that the Bathroom Wall Panels are perfectly straight and dry. Eliminate any old wallpaper or loose paint that may come in contact with the adhesive. Measure the levelness of your walls with a long spirit level. Little bumps may be smoothed with rough sandpaper. Big troughs may take a rapid coating of plaster or filler.
Preparation of Material
Prepare all your material in a single place. A fine-tooth saw, or a sharp utility knife, will be required. Prepare a good silicone sealant of high quality and a caulking gun. Measure the height and width of all the walls twice. Orders of an additional ten per cent of material take care of cutting errors. Let your Bathroom Wall Panels dry in the room for twenty-four hours.
Selecting the appropriate Adhesive and Sealant
How long your project lasts will be determined by the quality of the glue you use. In all cases, a high-bond adhesive that is specifically designed for use in wet environments is to be used. The most significant section of the job is watertight seals. Apply silicone in any inner corner and joint of a matching colour. This eliminates the possibility of moisture leaking behind the building and leading to mould. Clean up any surplus instantly with a wet cloth or a profiling instrument.
Sawing and grinding the Materials.
The process of PVC Bathroom Wall Panels requires a firm hand and a sharp blade. Make your marked cuts on the ornamental face of the panel. Clean circular holes. Use a hole saw attachment on your drill. These holes should be made a little bigger than the pipes to be able to expand. Wipe sand around the edges that are being cut so that there are no burrs or sharp plastic pieces. Rough Edges might not allow the panels to come into place. It is always important to dry-fit every piece before fixing any glue to the wall.
The Installation of the Starting Trim and First Panel
Each professional installation begins with the right trim. Attach your internal corner profiles or end caps to the wall. These give your panels a good frame and waterproof channel. Use a small line of sealant, whatever is within the trim, and then fit the panel in. Insert the first panel into the profile and make sure that it is vertical. This initial work determines the verticality of the whole wall.
The manufacture of Panels and Finishing Corners
Place a little sealant into the groove of the panel installed. Insert the tongue of the new panel in the groove at an angle. Repeat this until the length of your bathroom wall panel. Also, determine the level after every two or three panels to keep up with the progress. Minor modifications can be simply done before the paste dries up. These cover the rough cut edges and give a smooth look to them. Now your PVC Bathroom Wall Panels are supposed to look like one piece.
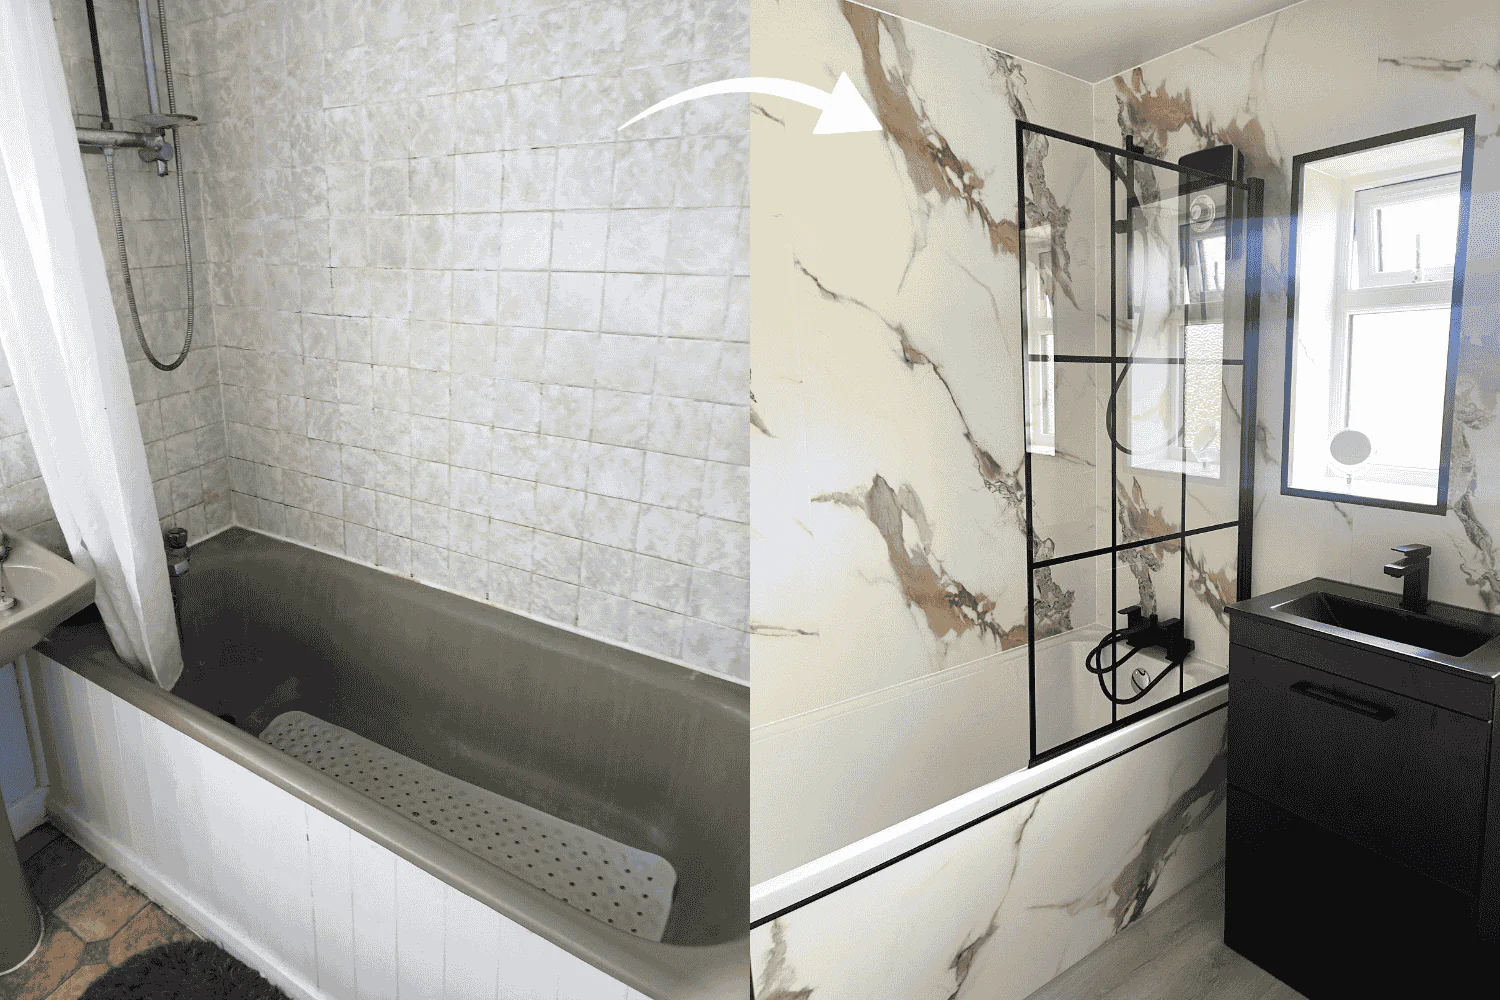
The Long Lasting Results Maintenance
Your new Bathroom Wall Panels are easy to compare to cleaning the old tile grout through scrubbing. Do not apply acids or strong chemicals to the plastic surface. Warm water and mild soap are all you need to do it. Wipe the walls with a soft microfiber cloth after any shower. This does not allow the accumulation of soap scum and lime scale with time. The finish has a lifespan of many years when it is cleaned regularly. PVC Bathroom Wall Panels have a durable surface that is impact and scratch-resistant.
FAQs
Do the panels entirely prevent water?
Its panels are waterproof as they are manufactured out of high-quality plastic. The system can only be waterproofed when the joints are well covered with silicone.
What are the tools required in the job?
This will require a fine-tooth saw, a spirit level, a tape measure, and a caulking gun. The pipe work can also be done with a whole saw drill.
How many hours will it take to install it?
A typical bathroom occupying an average size is expected to require one or two days. This involves the period required for the adhesive to dry.
May I locate these panels in a shower enclosure?
These tiles would be ideal to use in shower rooms since they do not have grout. They give an uninterrupted protection that is highly easily maintained.
What about shower valves and pipes?
Draw different circles on the panels with a whole saw or a jigsaw. Apply much silicone to the opening around the pipe prior to the cover plate.
Follow us on Instagram for more details.